Home Brewing Guide
Key Takeaways
- Home brewing allows you to craft unique beers tailored to your taste preferences.
- The basic ingredients for beer include water, malt, hops, and yeast.
- Starting with a small batch, like one gallon, is cost-effective and manageable for beginners.
- Essential equipment includes a fermenter, airlock, brewing kettle, and sanitizer.
- Sanitization is crucial to prevent contamination and ensure quality beer.
Getting Started with Home Brewing
Have you ever thought about crafting your own beer at home? It’s an exciting and rewarding hobby that allows you to experiment with flavors and create something truly unique. Let’s dive into the basics of home brewing and get you started on this amazing journey.
Why Home Brewing is Exciting
Home brewing is more than just a hobby; it’s a craft. It gives you the freedom to create beers that you can’t find in stores. Want a chocolate-flavored stout or a fruity IPA? You can make it! Plus, there’s nothing quite like the satisfaction of sharing a beer that you’ve brewed yourself with friends and family.
Besides that, home brewing can be a fun way to learn about science and chemistry. You’ll discover how different ingredients and processes affect the flavor and quality of your beer. It’s a blend of art and science that keeps many enthusiasts hooked.
Basic Principle of Brewing
The basic principle of brewing beer involves four main ingredients: water, malt, hops, and yeast. Each plays a vital role in the brewing process. Water is the base of your beer, malt provides the sugars needed for fermentation, hops add bitterness and aroma, and yeast is responsible for converting sugars into alcohol and carbon dioxide.
Most importantly, understanding how these ingredients interact will help you create balanced and flavorful beers. The process itself involves several steps, including mashing, boiling, fermenting, and bottling. Each step is crucial and contributes to the final taste of your beer.
Essential Ingredients Needed
To start brewing, you’ll need the following ingredients. For those interested in a rich and flavorful option, consider using the Brewer’s Best Coffee Porter Ingredient Kit.
- Water: The quality of water can significantly affect the taste of your beer. Use filtered or bottled water for the best results.
- Malt: Available as malt extract or malted grains, it provides the fermentable sugars needed for brewing.
- Hops: These flowers add bitterness and aroma to balance the sweetness of the malt.
- Yeast: This microorganism ferments the sugars, producing alcohol and carbonation.
Now that you know the basic ingredients, it’s time to set up your home brewery. But before we get into that, remember that patience and attention to detail are your best friends in brewing. With these qualities, you’re already on the path to success.
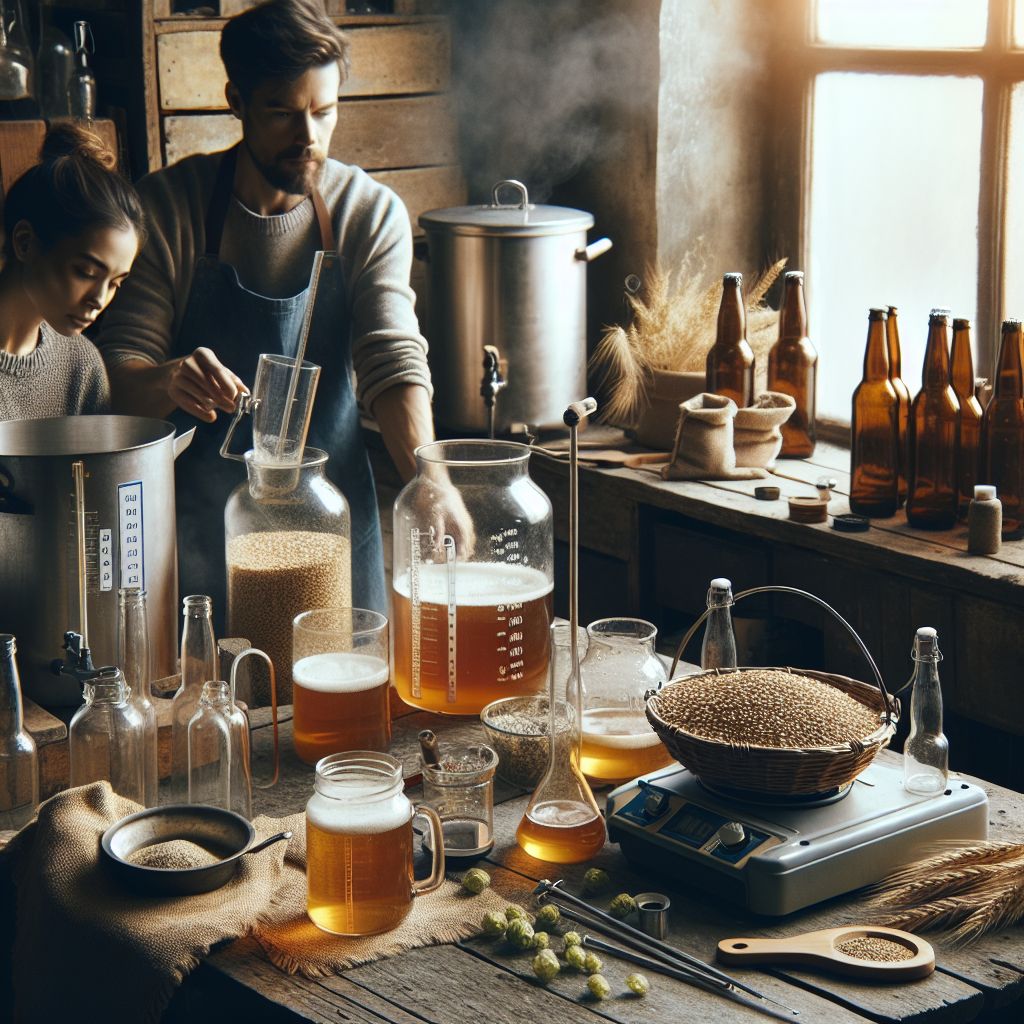
Setting Up Your Home Brewery
Setting up your home brewery doesn’t require a fortune or a large space. You can start small and gradually upgrade your equipment as you become more experienced. For more detailed guidance, check out this guide on making your own beer to get started with the essentials.
Basic Equipment Checklist
Here’s a list of basic equipment you’ll need for home brewing:
- Brewing Kettle: A large pot used for boiling your ingredients. A capacity of at least five gallons is recommended.
- Fermenter: This is where your beer will ferment. A glass carboy or a plastic bucket with a lid works well.
- Airlock: Allows carbon dioxide to escape during fermentation while keeping contaminants out.
- Thermometer: Helps you monitor the temperature during brewing.
- Hydrometer: Measures the gravity of your beer, helping you determine alcohol content.
- Sanitizer: Essential for cleaning all your equipment to prevent contamination.
With these tools, you’ll be ready to start your brewing journey. In the next sections, we’ll explore cost-effective options and how to set up your brewing space effectively.
Understanding the Brew Day
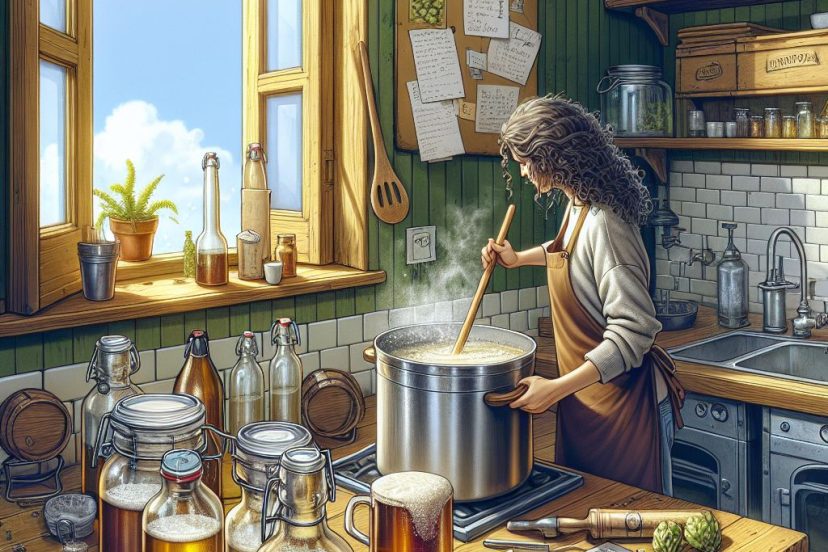
The brew day is the heart of your home brewing experience. It’s when you combine all your ingredients and start the magical process of turning them into beer. Before you begin, ensure you have all your equipment and ingredients ready. A successful brew day is all about preparation and timing.
Start by heating your water in the brewing kettle. Once it reaches the desired temperature, add your malt to begin the mashing process. This step allows the enzymes in the malt to convert starches into fermentable sugars. Keep an eye on the temperature, as maintaining it within the right range is crucial for optimal sugar extraction.
The Importance of Sanitization
Sanitization is perhaps the most critical aspect of home brewing. Any contamination can ruin your batch, leading to off-flavors or spoiled beer. Therefore, make sure all your equipment is thoroughly sanitized before and after use. Use a no-rinse sanitizer, which is effective and easy to use.
Remember, it’s not just the fermenter that needs to be sanitized. Everything that comes into contact with your beer after boiling should be clean. This includes your stirring spoon, airlock, and even your hands. A little extra effort in sanitization can save you from a lot of disappointment later.
Mastering the Fermentation Process
Once you’ve completed the brew day and your wort (unfermented beer) is ready, it’s time for fermentation. This is where the yeast works its magic, transforming sugars into alcohol and carbon dioxide. Transfer your cooled wort to the fermenter and pitch the yeast. For those interested in exploring different styles, consider trying a Pacific Coast IPA ingredient kit to add a unique twist to your homebrew.
Fermentation typically takes one to two weeks, depending on the type of beer you’re making. During this time, keep your fermenter in a dark, cool place with a stable temperature. Sudden temperature changes can stress the yeast and affect the beer’s flavor.
You’ll notice bubbling in the airlock during active fermentation. This is a good sign that the yeast is doing its job. Once the bubbling slows down or stops, it’s a sign that fermentation is nearing completion. Use a hydrometer to check the specific gravity and ensure fermentation is complete before moving to the next step.
Bottling Your Home Brew
After fermentation, it’s time to bottle your beer. First, prepare a priming solution by dissolving sugar in boiling water. This sugar will carbonate your beer in the bottle. Carefully siphon your beer into a bottling bucket, leaving the sediment behind.
Add the priming solution to the bottling bucket and gently stir to mix. Avoid splashing, as this can introduce oxygen and spoil your beer. Fill your sanitized bottles, leaving about an inch of headspace, and cap them securely.
Store the bottles at room temperature for at least two weeks to allow carbonation. After this period, chill a bottle and taste your creation. If it’s not quite carbonated enough, give it more time. Patience is key to achieving the perfect brew.
Common Mistakes and How to Avoid Them
Even seasoned brewers make mistakes, but being aware of common pitfalls can help you avoid them. One common issue is improper sanitization, which can lead to contamination. Always double-check that your equipment is clean before brewing.
Another frequent mistake is not monitoring fermentation temperatures. Yeast is sensitive to temperature, and fluctuations can cause off-flavors. Use a thermometer and keep your fermenter in a temperature-stable environment.
Overcoming Bottling Errors
Bottling errors can be frustrating, but they’re easy to fix. One common mistake is over-carbonation, which can cause bottles to explode. To avoid this, measure your priming sugar accurately and ensure it’s evenly distributed in the bottling bucket.
Dealing with Off Flavors
Off flavors can arise from various issues, such as poor sanitization, high fermentation temperatures, or stressed yeast. To address these, always sanitize thoroughly, maintain stable temperatures, and use fresh yeast. If you encounter a specific off-flavor, research its cause and adjust your process accordingly. For those interested in improving their brewing process, consider exploring the Pacific Coast IPA beer ingredient kit as a way to experiment with new flavors and techniques.
Maintaining Proper Fermentation Temperature
Maintaining the right fermentation temperature is crucial for a successful brew. Most ales ferment best between 65°F and 75°F, while lagers require cooler temperatures. Use a temperature-controlled environment, such as a fermentation chamber or a cool basement, to keep your beer within the desired range.
Enhancing Your Home Brew
Once you’ve mastered the basics, it’s time to experiment and enhance your home brew. Consider trying different hop varieties, adding fruit or spices, or experimenting with specialty grains. The possibilities are endless, and each experiment brings new flavors and aromas to your beer.
Besides that, keep detailed notes of your brewing process, including ingredients, temperatures, and fermentation times. This will help you replicate successful batches and make adjustments to improve future brews. Happy brewing!
Experimenting with Flavors
Experimenting with flavors is one of the most exciting aspects of home brewing. Once you’ve got the basics down, don’t be afraid to get creative. You can add fruits, spices, or even coffee to your brew to create unique and interesting flavors. For example, adding raspberries during fermentation can give your beer a delightful tartness and fruity aroma. If you’re interested in learning more about creating vibrant brews, check out the art of brewing craft red beer.
Using Specialty Ingredients
Specialty ingredients can take your home brew to the next level. Consider using honey for a sweet, smooth finish or experimenting with different types of malt to add depth and complexity to your beer. Specialty grains, like roasted barley, can provide a rich, dark color and a roasted flavor profile, perfect for stouts and porters.
Remember to balance these ingredients carefully. Too much of a good thing can overwhelm the beer’s natural flavors. Start with small additions and adjust as needed in future batches. This trial-and-error approach is what makes home brewing a fun and rewarding hobby.
Adjusting Bitterness and Sweetness
Bitterness and sweetness are two key elements that define the character of your beer. Hops are the primary source of bitterness, and by adjusting the type and amount of hops used, you can control the level of bitterness in your brew. If you prefer a less bitter beer, choose hops with lower alpha acids or add them later in the brewing process.
Sweetness, on the other hand, comes from the malt. If you want a sweeter beer, use malt with higher unfermentable sugars or add lactose, which is a non-fermentable sugar that adds sweetness and body to the beer. Balancing these two elements is crucial to achieving a well-rounded and enjoyable brew.
Another way to adjust sweetness is by controlling the fermentation process. A shorter fermentation period can leave more residual sugars, resulting in a sweeter beer. However, be cautious with this approach, as it can also lead to incomplete fermentation and potential off-flavors.
Sharing Your Home Brew
- Label your bottles with the brew date and any special ingredients used.
- Store your home brew in a cool, dark place to preserve its quality.
- Encourage feedback from friends and family to improve your brewing skills.
Sharing your home brew is one of the most rewarding parts of the brewing process. Not only do you get to enjoy the fruits of your labor, but you also get to share your passion with others. Whether you’re hosting a tasting party or giving bottles as gifts, your home brew is sure to impress. For an added touch, consider using flip-top beer bottles to make your presentation stand out.
Before sharing, make sure your beer is properly carbonated and has had enough time to mature. A well-aged beer often tastes better and has more refined flavors. Don’t rush the process; good things take time.
When sharing, be open to feedback. Constructive criticism can help you improve your brewing techniques and create even better beers in the future. Plus, discussing your brew with fellow enthusiasts can spark new ideas and inspire your next batch.
Hosting a Tasting Party
Hosting a tasting party is a great way to showcase your home brew and get feedback from friends and family. Set up a tasting station with a variety of your brews, along with some snacks that complement the flavors. Encourage guests to take notes on what they like or dislike about each beer.
Gifting Home Brew Safely
Gifting home brew is a thoughtful and personal gesture. However, it’s important to ensure that the beer is safe for consumption. Make sure your bottles are properly sanitized and sealed to prevent contamination. Label each bottle with the brew date and any special ingredients used.
Consider packaging your home brew in a gift basket with some complementary items, like a set of beer glasses or a bottle opener. This adds a personal touch and makes the gift even more special.
- Ensure bottles are properly sanitized and sealed.
- Label bottles with brew date and special ingredients.
- Consider including complementary items, like beer glasses or a bottle opener, in a gift basket.
Remember, the key to a successful gift is presentation and thoughtfulness. Your home brew is a labor of love, and sharing it with others is a way to spread joy and camaraderie. For more inspiration, explore the art of craft beer bottles to enhance your presentation.
Frequently Asked Questions
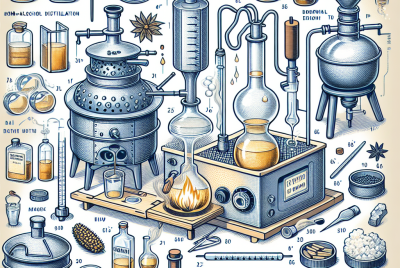
Home brewing can seem complex, but with the right information, anyone can get started. Here are some common questions to help guide you on your brewing journey. For example, you might wonder if you can distill alcohol at home.
What are the basic ingredients needed for home brewing?
The basic ingredients for home brewing are water, malt, hops, and yeast. These four components are the foundation of any beer recipe. Water is the main ingredient and should be clean and free of contaminants. Malt provides the sugars needed for fermentation, hops add bitterness and aroma, and yeast ferments the sugars into alcohol and carbon dioxide.
While these are the essentials, you can also experiment with additional ingredients to create unique flavors. Fruits, spices, and specialty grains can all add complexity to your brew.
“The four main ingredients of beer are water, malt, hops, and yeast. Together, they create the magic that is beer.” – Home Brewing Basics
Understanding these ingredients and how they interact is key to successful home brewing. Start with simple recipes and gradually experiment with new flavors as you gain confidence. For those interested in the Brewers Best Coffee Porter Ingredient Kit, it’s a great way to explore new tastes and enhance your brewing skills.
How long does it take to brew your own beer?
The time it takes to brew your own beer can vary depending on the style and complexity of the recipe. Generally, the brewing process itself takes about 4 to 6 hours. After that, the beer needs to ferment for 1 to 2 weeks, followed by bottling and an additional 1 to 2 weeks for carbonation.
Overall, you can expect the entire process to take about 4 to 6 weeks from start to finish. However, some styles, like lagers, may require longer fermentation and aging periods. Patience is key, as rushing the process can lead to off-flavors and a less enjoyable beer.
For a quick overview, here’s a simple timeline:
Home brewing is an exciting hobby that allows enthusiasts to craft their own unique beers right at home. Understanding the basics of brewing, such as selecting the right ingredients and mastering the fermentation process, is essential for success. For those new to this craft, there are numerous articles on this site to help guide you through the process.

