Home Brewing Bottling – Everything You Need To Know
Introduction to Home Brewing Bottling
Welcome fellow brew enthusiasts! Today, we’re diving deep into the world of home brewing bottling, and I promise you, it’s not as daunting as it may seem. We’ll cover everything you need to know, from essential equipment to advanced techniques. So, grab your brewer’s cap, and let’s get started!
Essential Equipment for Home Brewing Bottling
Before we delve into the bottling process, it’s crucial to understand the necessary equipment you’ll need. Here’s a quick list to guide you:
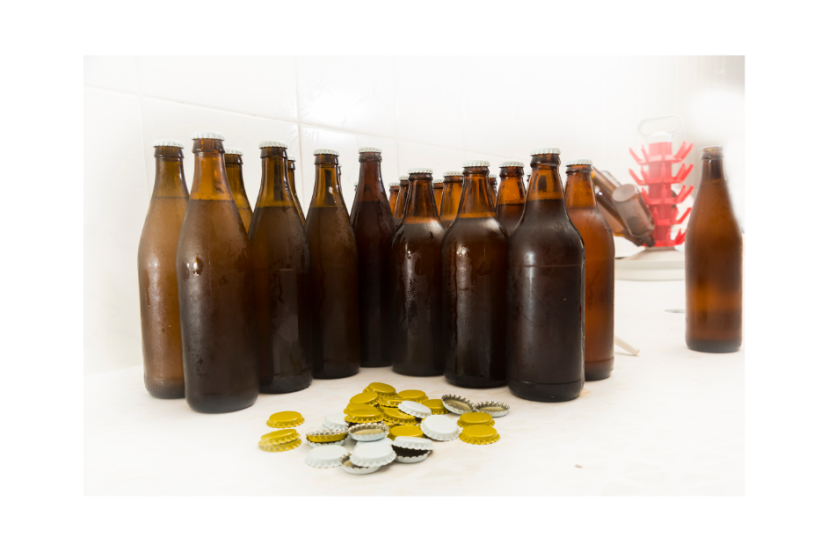
- Bottles (Glass or Plastic)
- Bottle Caps
- A Bottle Capper
- A Bottling Wand
- A Bottle Brush
- A Bottle Rinser
- A Priming Bucket
Isn’t it amazing how simple tools can lead to the creation of something as delightful as home brewed beer?
The Importance of Sanitization
Next, let’s move on to sanitization, the unsung hero of brewing. Without proper sanitization, bacteria can spoil your brew, turning all your hard work into a disaster.
Steps for Proper Sanitization
But don’t fret, the process is quite straightforward. Rinse all your equipment thoroughly. Then, use a no-rinse sanitizer for all your tools, especially the bottles, caps, and bottling wand. Remember, cleanliness is next to godliness in home brewing!
Navigating the Bottling Process
The bottling process is like the grand finale of brewing. Done correctly, it is the difference between a ‘good’ brew and a ‘great’ one.
Choosing Your Bottles
Your first decision here is the type of bottle you want to use.
Glass vs. Plastic Bottles
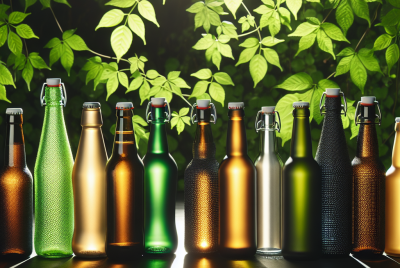
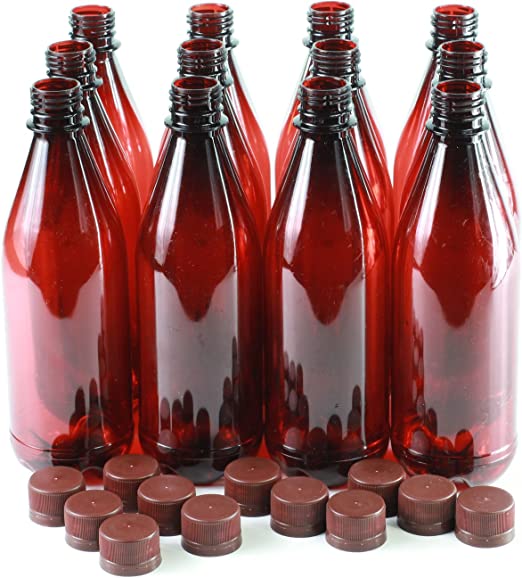
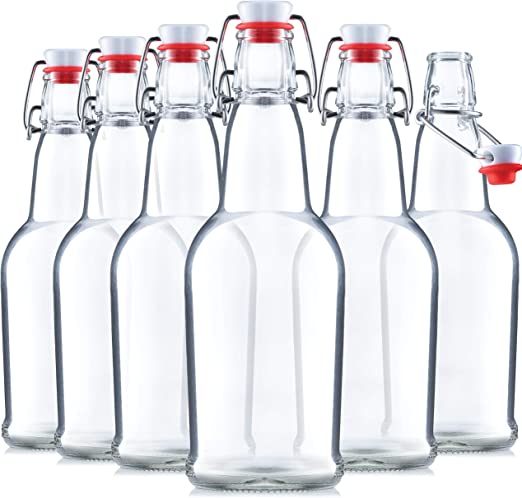
You’re probably wondering which is better, glass or plastic? While glass bottles are more traditional and offer a better seal, plastic ones are lighter and less prone to breakage. Aluminum bottles are yet another option. Check out our guide on bottle types to learn more. The choice is yours, but whatever you choose, make sure they are non-scratched and free from any residual debris.
Priming Your Brew
Before bottling, you’ll need to ‘prime’ your brew by adding sugar. This reactivates the yeast, allowing for carbonation in the bottle. Just remember not to overdo it—too much carbonation can lead to exploding bottles!
Filling the Bottles
When it’s time to fill your bottles, a bottling wand is your best friend.
It allows for precise filling without unnecessary spillage. Aim to leave about an inch of headspace in each bottle.
Capping the Bottles
Once your bottles are filled, cap them using a bottle capper. This seals in your brew, ready for the magic of carbonation to happen!
Common Mistakes to Avoid in Home Brewing Bottling
Like any craft, bottling comes with potential pitfalls. Some common mistakes to avoid include not sanitizing your equipment properly, over-priming, under or overfilling your bottles, and not securing your caps correctly.
Advanced Techniques in Home Brewing Bottling
As you get more comfortable with bottling, you might want to explore advanced techniques like kegging, using a counter-pressure bottle filler, or even wax-sealing your bottles for that professional touch.
Summary
Home brewing bottling is an art, combining precision, cleanliness, and patience. But with practice and the right knowledge, you can master this craft and enjoy the fruits (or brews) of your labor. Happy brewing, everyone!
Frequently Asked Questions
- Can I reuse beer bottles for home brewing? Absolutely! Just ensure they’re thoroughly cleaned and sanitized.
- How long does home-brewed beer last in the bottle? Properly stored, it can last for up to a year, although its taste is usually best within the first few months.
- Why did my beer bottles explode? This usually happens due to over-priming or infection—both cause excessive carbonation.
- How much priming sugar should I use? The amount varies based on the style of beer and the desired level of carbonation. Typically, about 0.8-1.0 ounces per gallon is recommended.
- Can I bottle beer directly from the fermenter? While it’s possible, using a bottling bucket with a spigot makes the process easier and less messy.

